Casting solder into resin-printed molds
Last time I tried to pur solder into a hand-cut cardboard "mold". The result was as inaccurate as one would expect. My attempts to smooth it out with epoxy made it even worse. But in the process I remembered that photopolymer resin is not a thermoplastic and does not melt in high temperatures (compared to FDM plastics, whose thermoplasicity is the basis of FDM 3D printing). So I decided to make some experiments with casting solder into 3D printed molds.
V1 with small vertical solder channel
The first idea was to pour solder into a small hole in the mold (where the hook itself attaches to the housing). I designed a 4-piece mold with 2mm channels for liquid metal and 1mm air vents (and screw holes to keep it together). It didn’t work that well, because the solder didn’t want to go through the small channel, seemingly due to high surface tension forces. I tried to guide it with a wire into the hole, that helped a little and some metal went into the mold. Most of the metal still stayed on top of the mold though. The next step was to apply pressure to liquid metal so that it fills the mold well, which was not possible with this design. The idea was to push it with a 2mm stick inside the 2mm channel, but as a lot of metal was sitting on top of that channel, this didn’t work.
So the result was unsatisfactory and I didn’t even make the photos of the metal part.
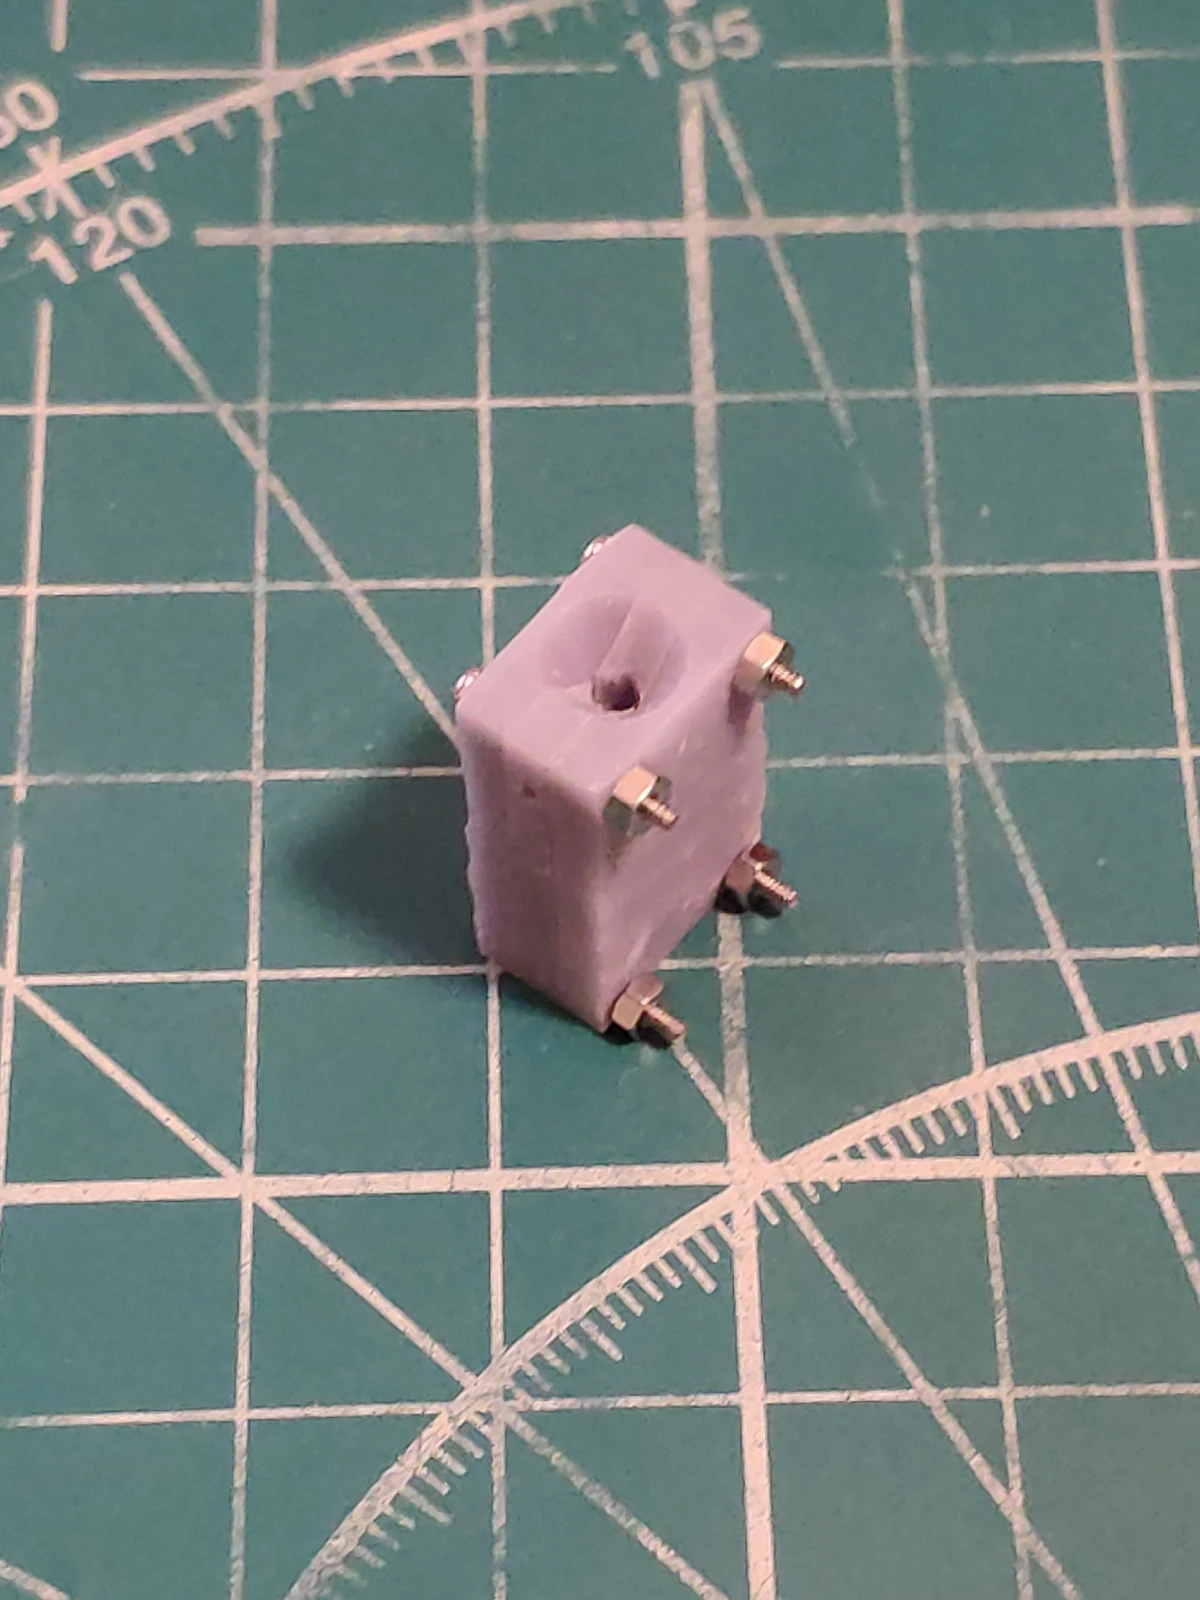
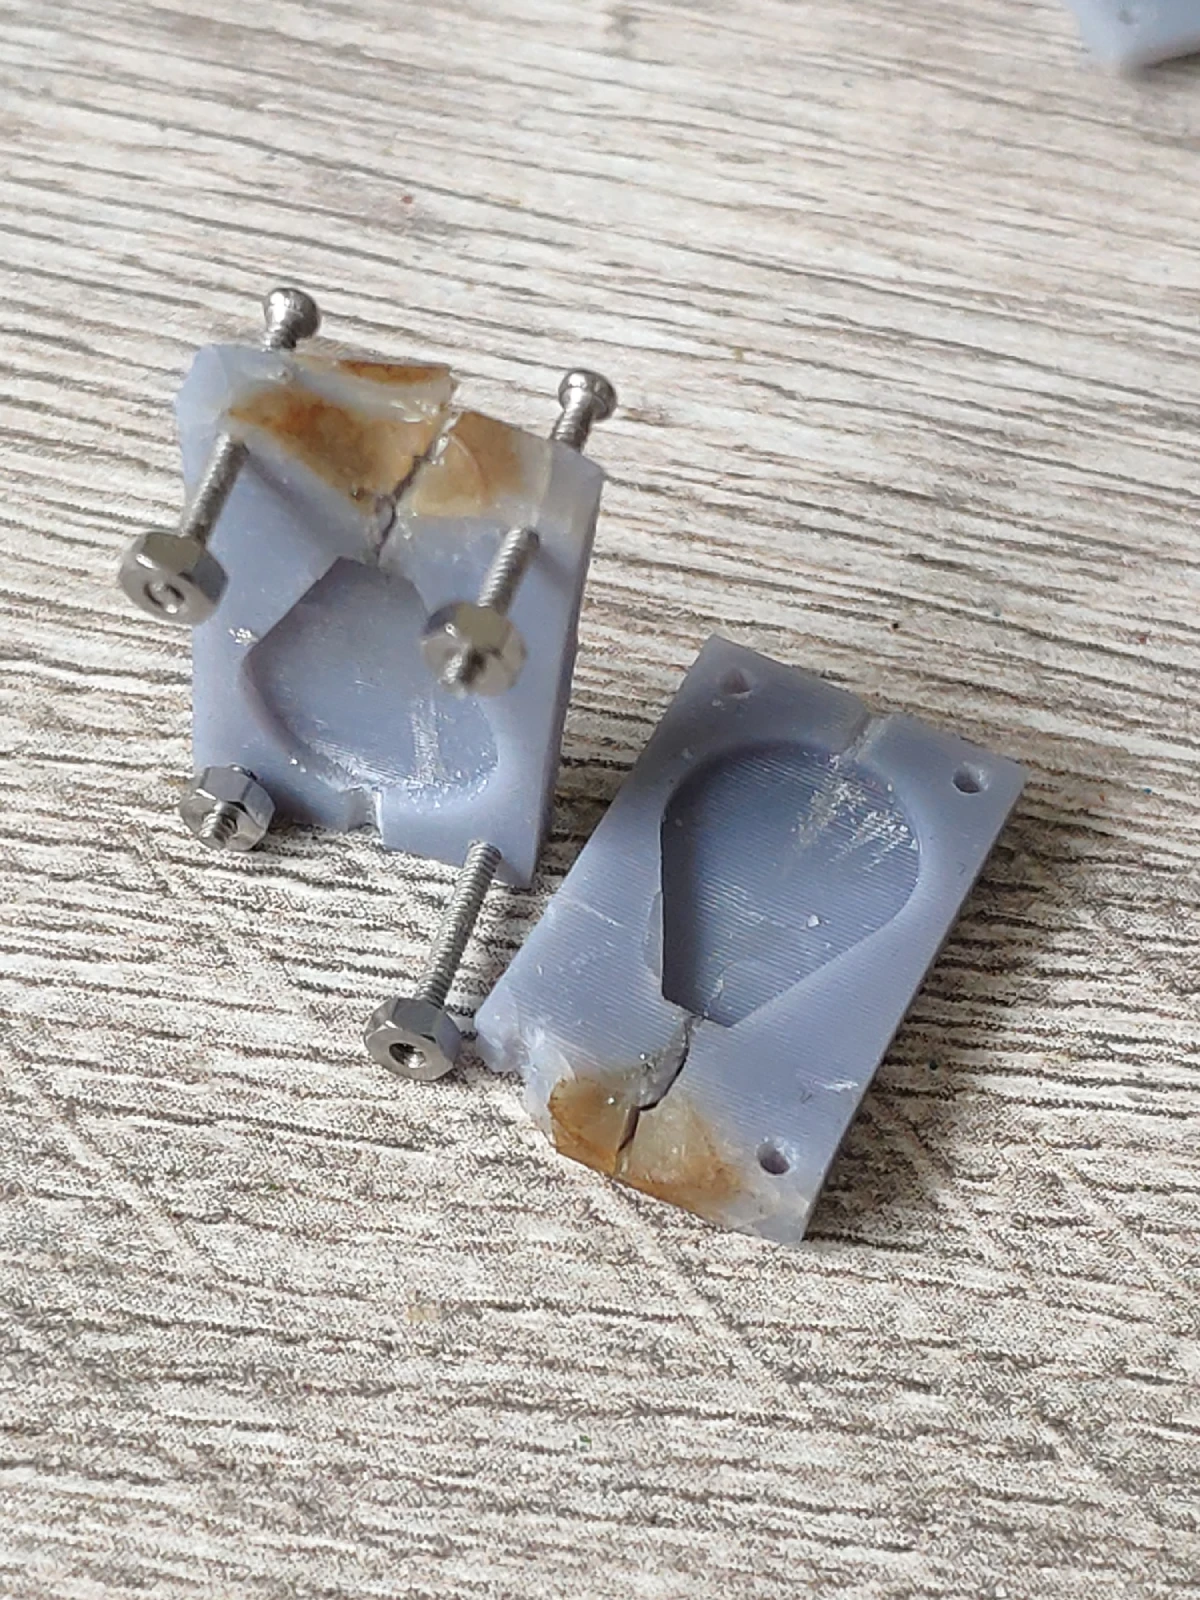
V2 with horizontal mold placement
With that previous experience I redesigned the mold to be more opened. The metal now comes from the sides of the hook casing, and sides are put with manual pressure as they are made more or less like plates that you can push into the metal.
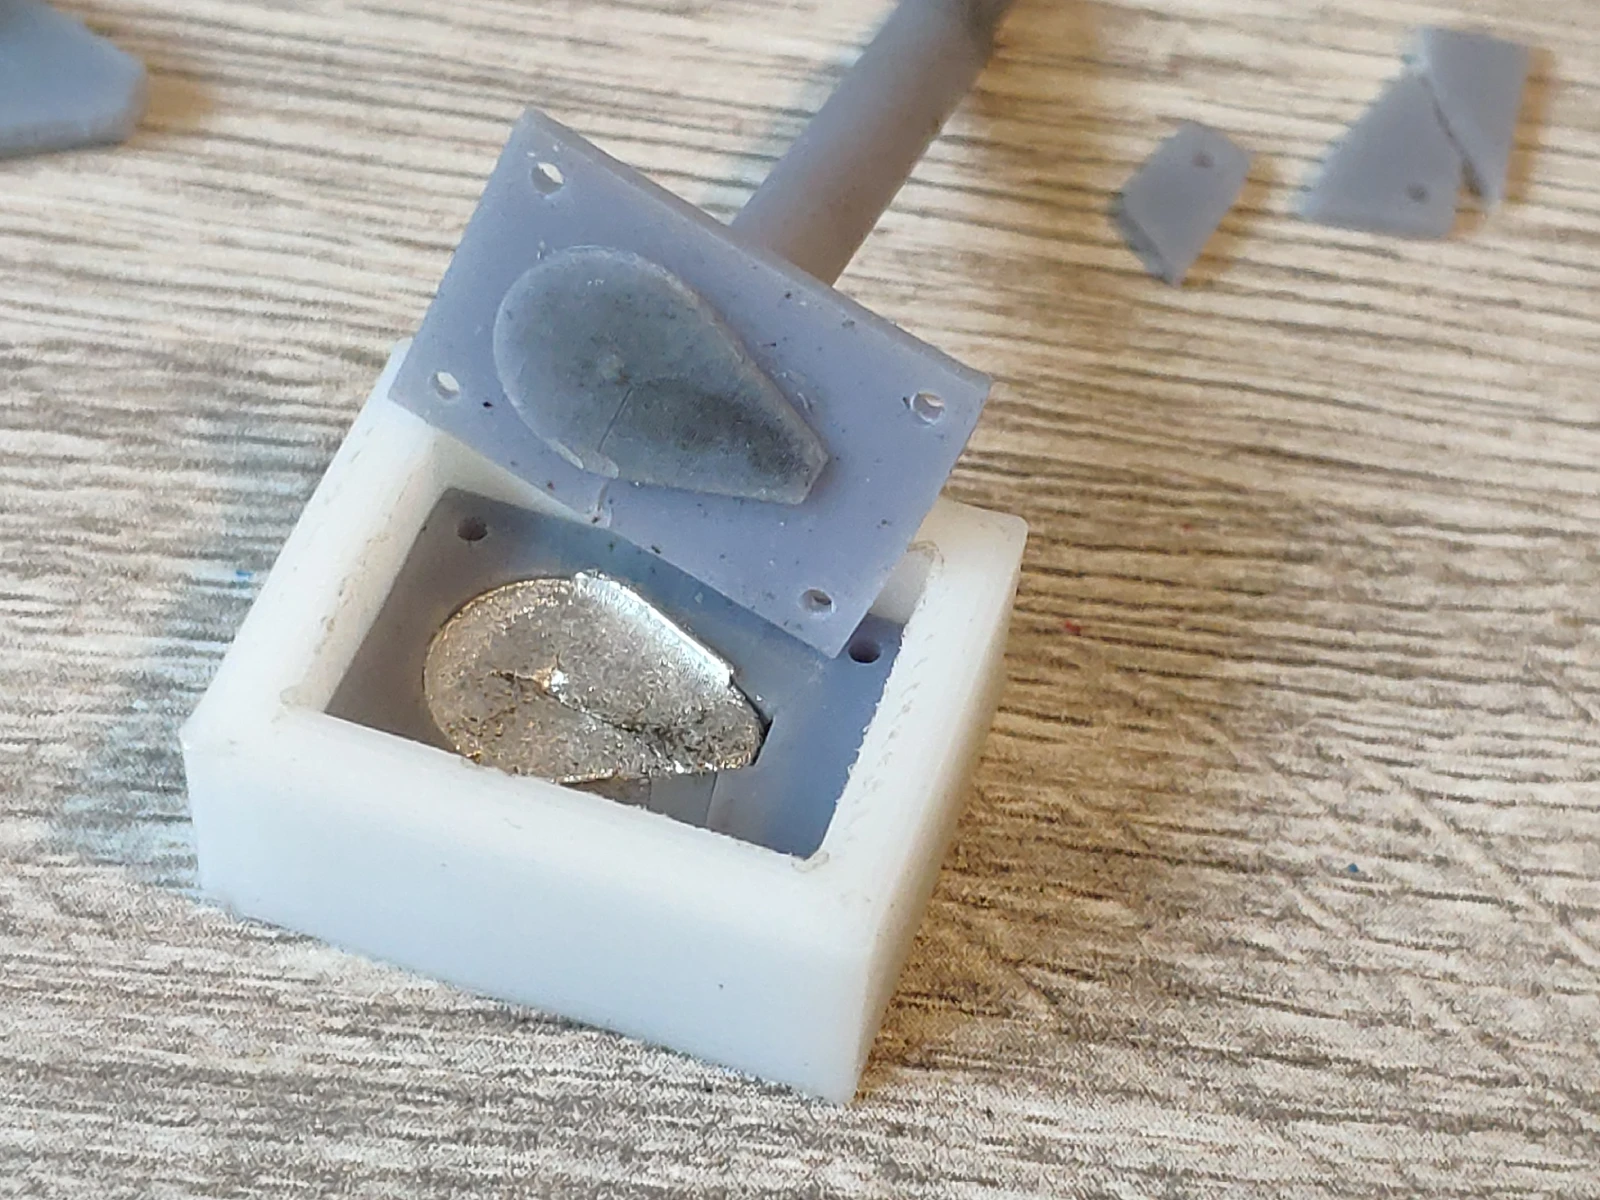
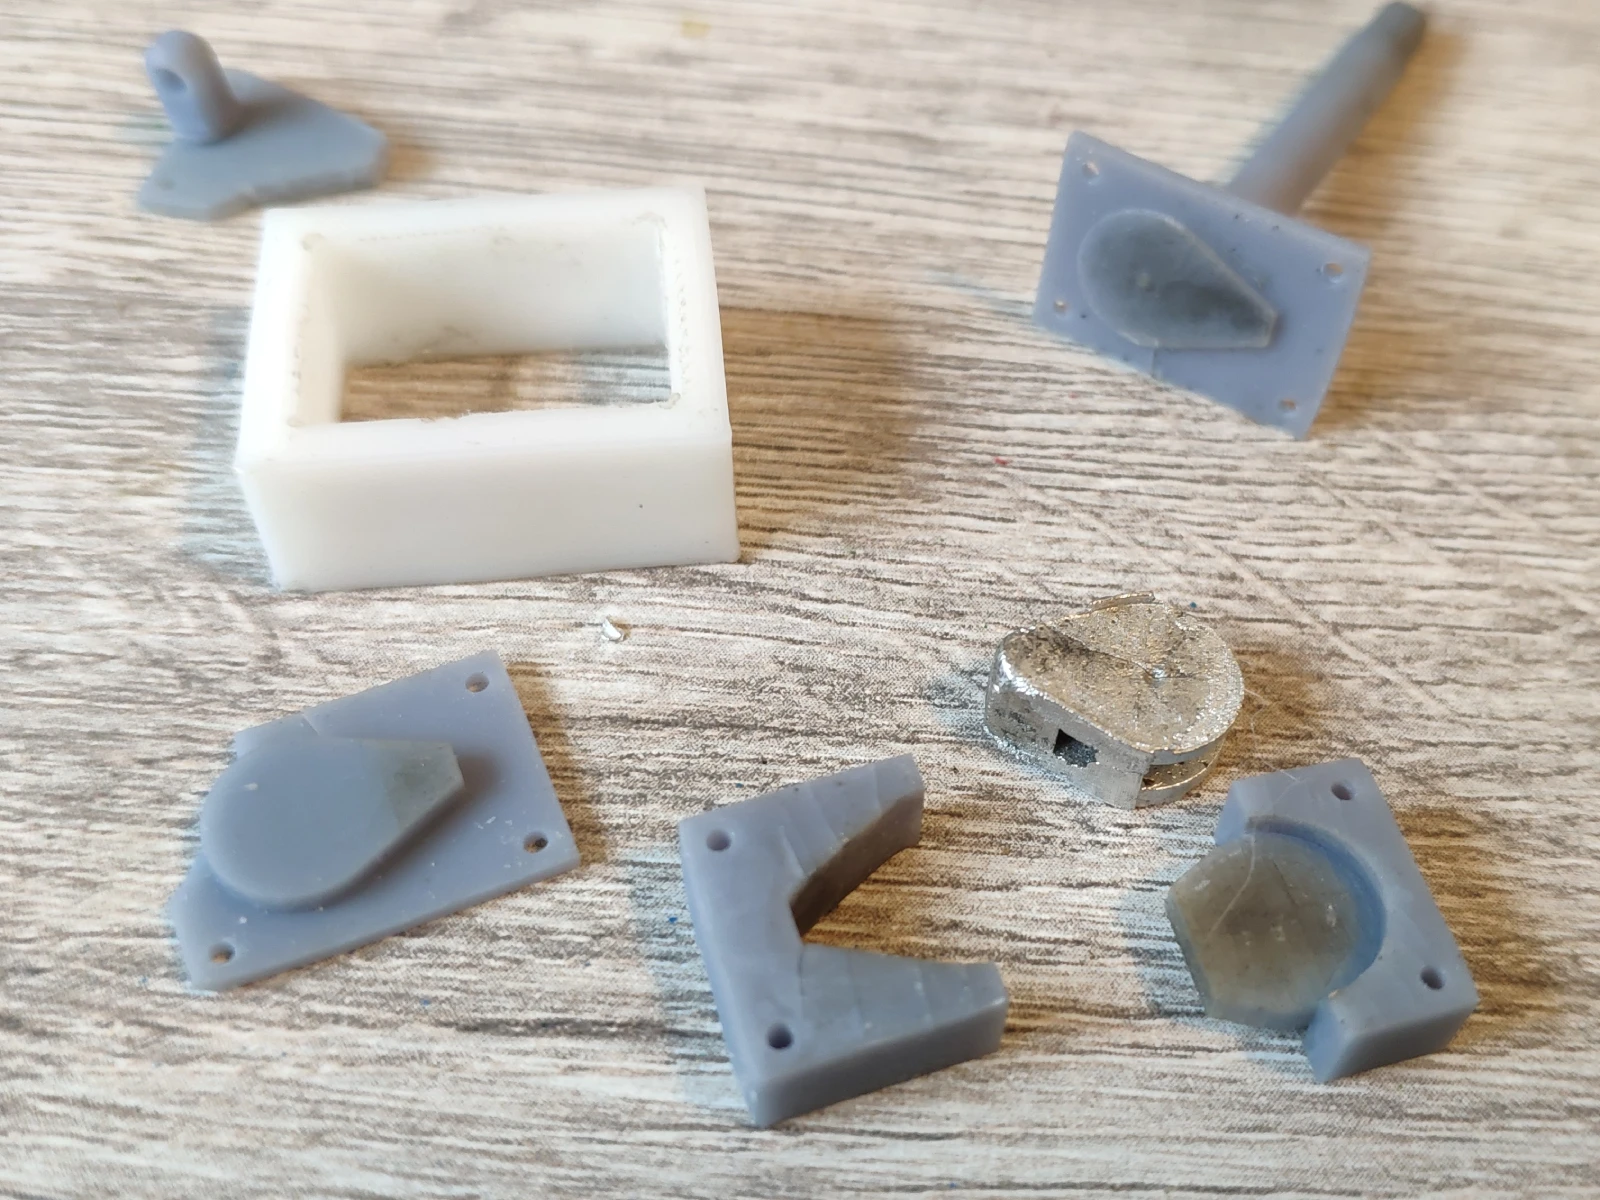
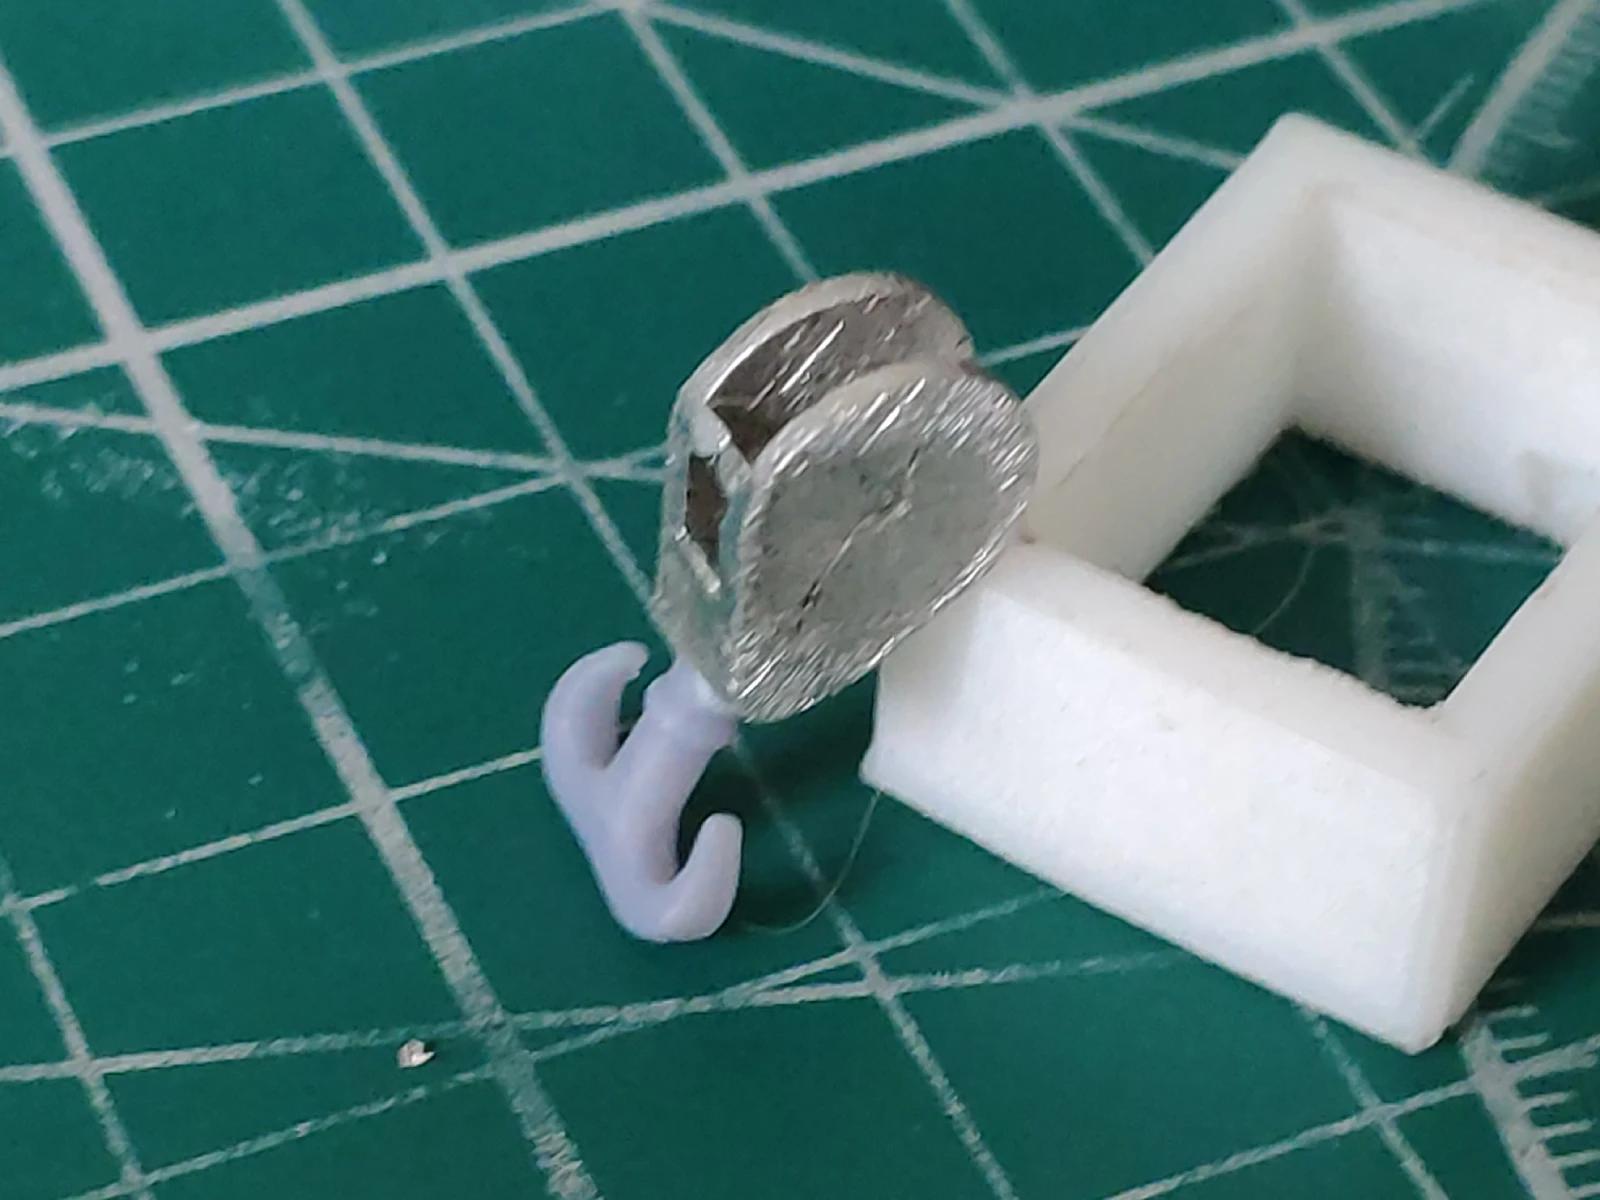
The process consists of 2 pourings from 2 sides of the hook. There are 4 resin pieces for the mold and 1 outer frame to hold them together (that I printed on an FDM machine in white PLA).
In the process I glued a rod to top plate so that it’s easier to hold and to apply pressure with.
The mold was made from ordinary 3D printer resin (Anycubic Grey, it came with the printer). Soldering iron temperature was set to 290°C. I used a T12-K knife-shaped tip for better thermal mass. Solder was also typical 1mm soldering wire with flux, which I melted into a blob and burned out the flux.
In the mold, cracks started to appear after about 2 pourings, in places that had most contacts with liquid metal. Those places also received a burned yellowish tint.
Overall it withstood around 5 pourings, then the cracks became so large, that small pieces started falling off. But at 5th pouring I’ve polished the procedure well enough to get a satisfactory result. My understanding is that previous pourings gave unsatisfactory results due to not warming the solder enough. So it was too viscous to fill the mold properly and looked too blobby. The final piece was well-heated, so it had very low viscosity, flowed very well and took shape of the mold precisely. All in all it turned out much better than I expected after previous pourings.
Afterwards I grinded the piece with a Proxxon to remove protruding parts. It can be drilled with steel drillbits very easily, even by hand.
Conclusion
In general, this test shows that the casting solder into photopolymer resin 3D-printed molds is very much viable for creation of heavy objects from metal in home conditions without any costly equipment. Only a soldering iron and solder wire was used, along with tweezers, kitchen wooden sticks and a Proxxon for post-processing.
Photopolymer resin molds are OK for single-use castings, but are not suitable for mass-production (maybe low-volume production at best). One mold holds about 5 pourings, depending on temperature and duration. For better use-count, silicone molds should probably be better.
