Motorized oil pumpjack
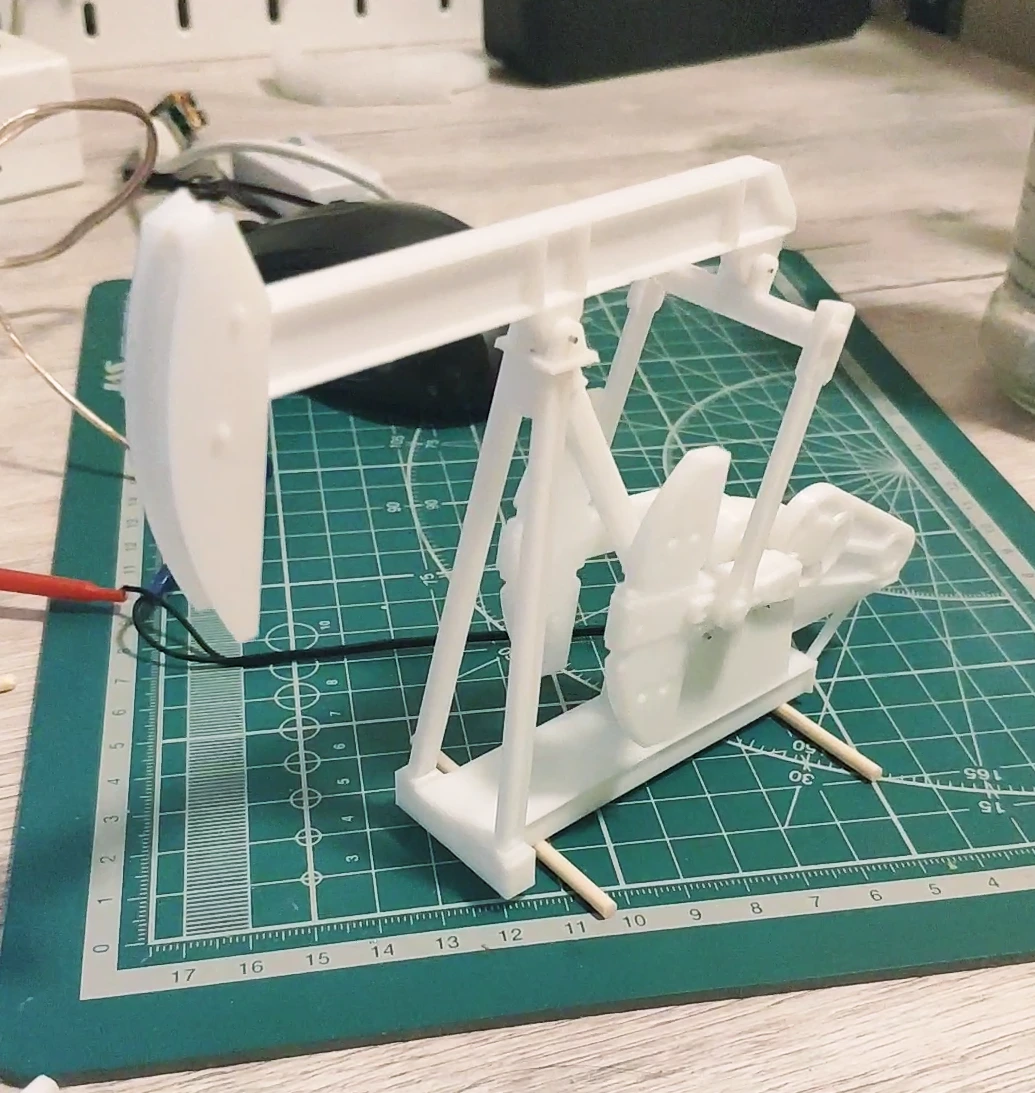
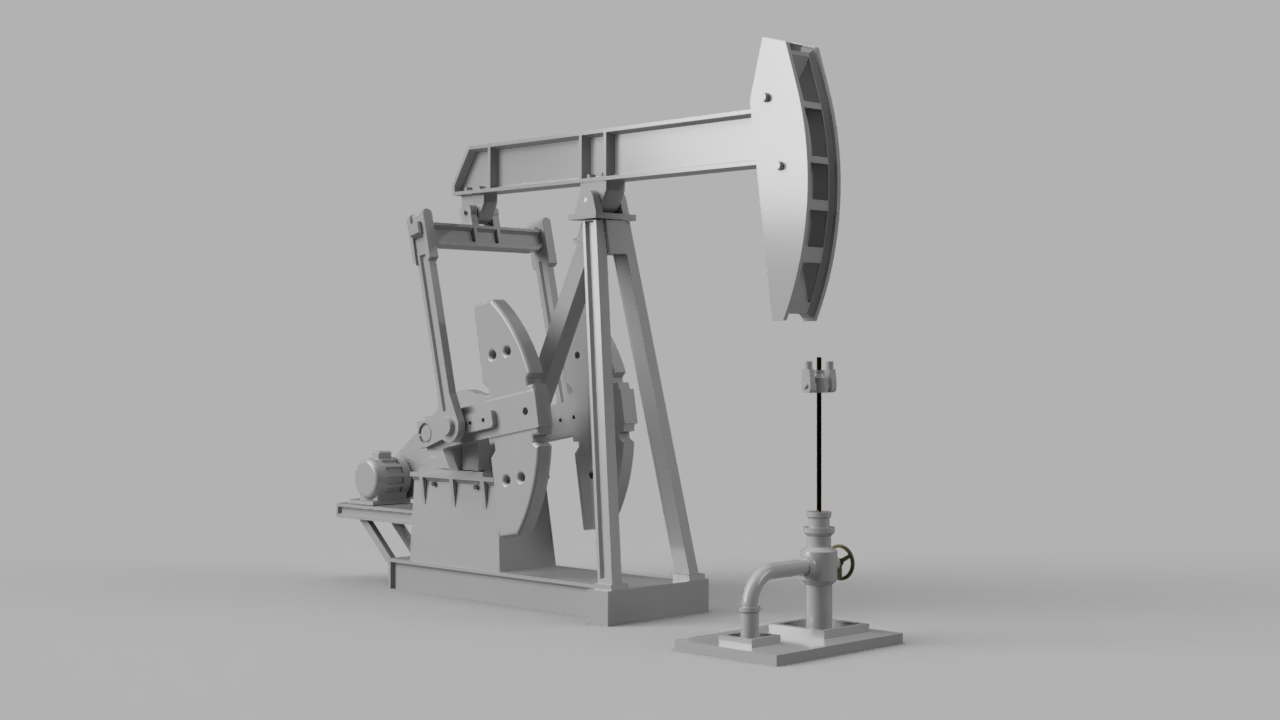
A model of a oil pump for printing on a typical FDM machine. Since the real thing comes in very different sizes, the model can be used in various scales from O to HO to N. It is designed to match HO though.
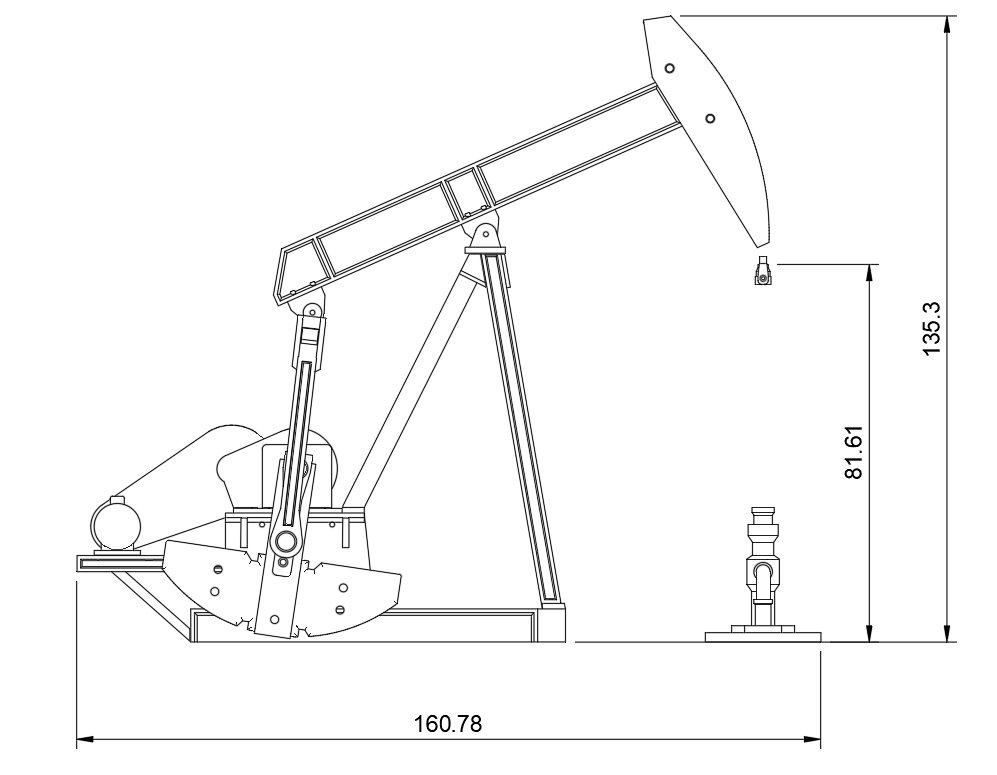
Dimensions are roughly 160mm x 40mm x 140mm (in highest position)
You can buy the model on cults3d.com.


For assembly, watch this instruction video:
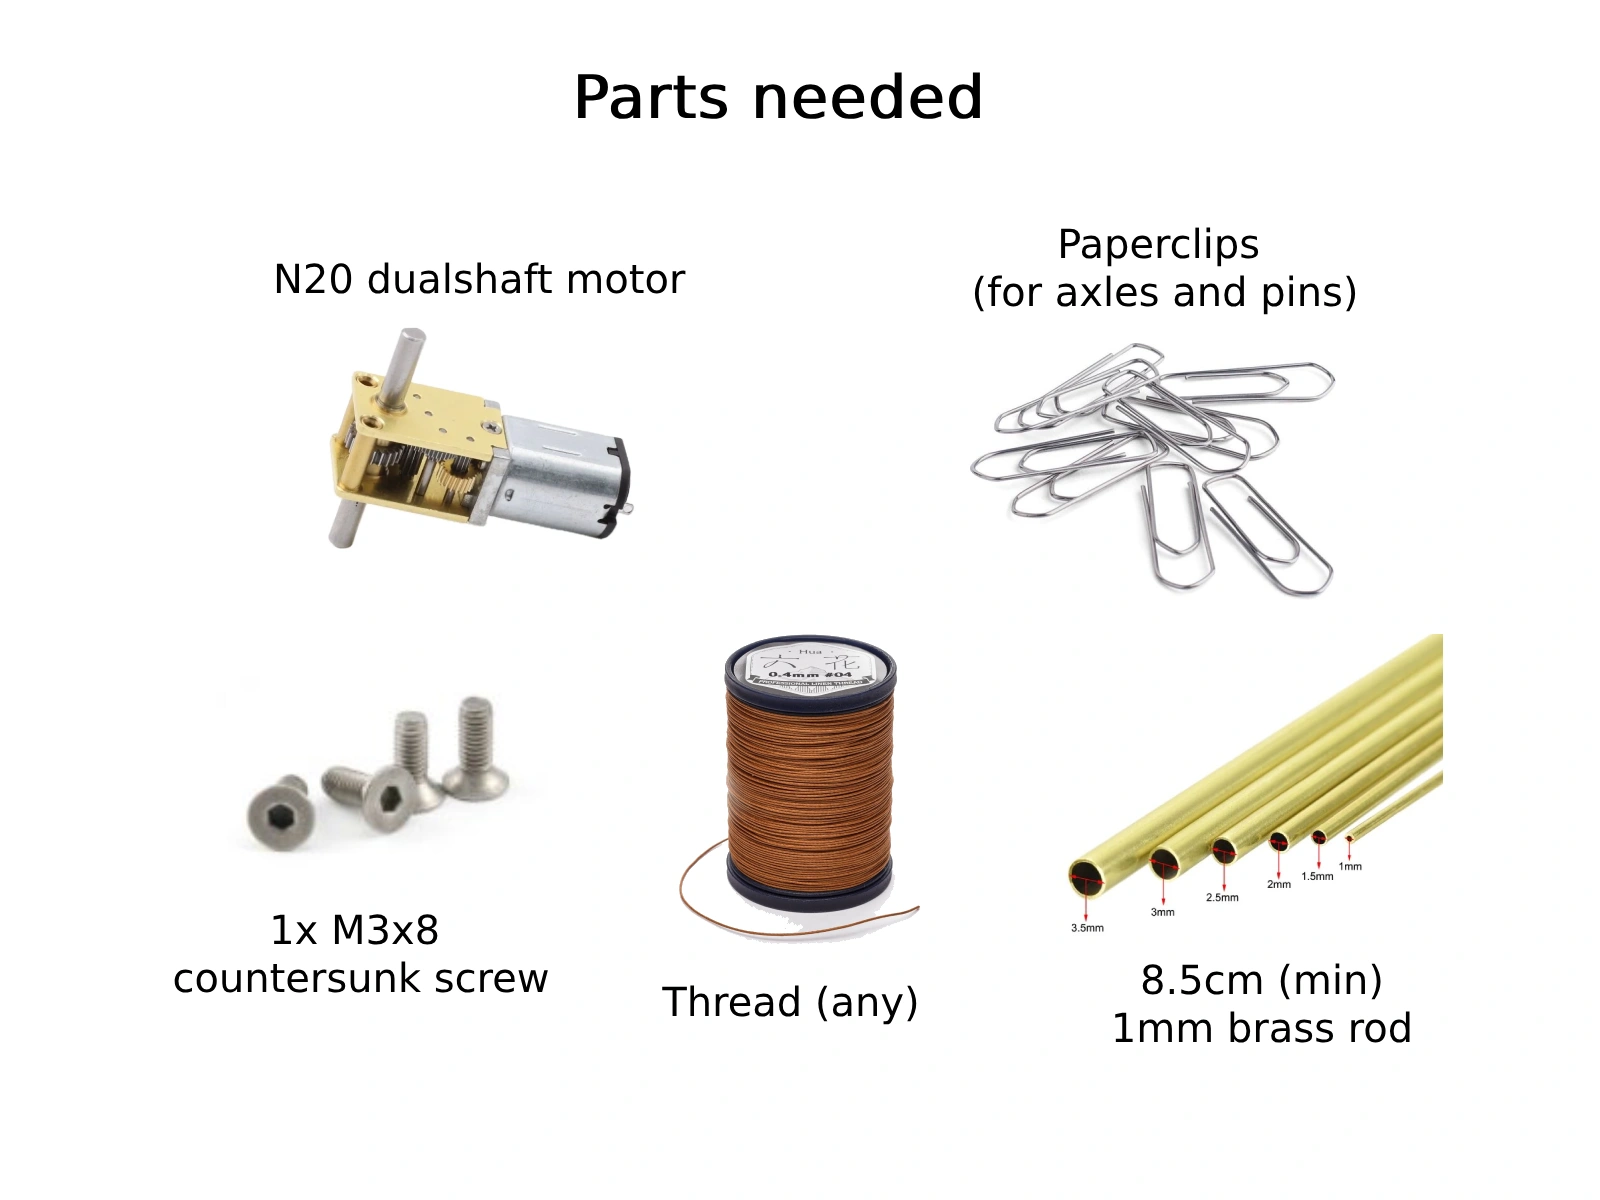
Parts needed

-
The model uses a cheap dual shaft N20 gear DC motor. There are various speed/voltage options for the motor, I’ve discovered that if you use 12V motor and downvoltage it to 5V, it will be very quiet, and at 2V is it practically silent (yes, a 12V motor can happily work at 2V). I used 12V 60RPM combination running at 5V, 120RPM will work better if you downvoltage it even more (I tested mine at 2V, it was too slow to my liking).
The motor is sold by many sellers on aliexpress and ebay. Here is the link I used: https://www.aliexpress.com/item/1005004985367695.html.
-
The model uses pieces of metal paperclip as axles. Paperclips around here are 0.8mm in diameter, the holes in the model are 1.0mm. You might need to drill out the holes with 0.8 or 0.9mm drill bit. The model is designed to be serviceable, i.e. you can remove the motor. Motor cover is not glued, but held in place with 2 pieces of paperclip that can be removed with tweezers.
-
You will also need a piece of thread. Any will do, but it you have one with pronounced texture and metal- or rust-colored, it will look nicer.
-
You will also need minimum of 85mm 1mm bronze rod or tube or similar tube to serve as a piston rod for the pump. A straight piece of large thick paperclip will also do. At the bottommost position of the pump it will go into the ground for around 40mm.
By design only gravity will pull the rod down, so if there is friction between the rod and ground, it might not go down all the way. In this case, you need to either sand the ground hole for the rod or attach some weight to the bottom end of the rod or even add a spring to pull it down.
-
One M3x8 countersunk screw is also needed to hold the model of engine in place.
Printing
Most of the parts need to be printed in highest possible resolution. I used 0.08mm layer height and 0.4 stock nozzle of Creality Ender 3.
"Crank 1.stl" needs to be printed twice.
Base.stl, which is the largest object, can be printed in 0.2mm layer to save time.
Most objects require no supports except "Base top.stl" and "Base top (1).stl", that require supporting of center overhang.
Infill doesn’t matter much.
Links
-
https://www.oilpumpjack.com/conventional-pumping-unit/ Used a drawing and pictures from this page.
-
A pumpjack that inspired the whole project: https://commons.wikimedia.org/wiki/Category:Jaknikker,_Openluchtmuseum_Arnhem
